Windows (Introduction)
|
|
Windows (Introduction) |
www.CAD6.com |
|
The user interface of CAD6 has a lot of windows for simplifying the mouse handling. For users who prefer other methods and dispense with such additives or just want a bigger drawing area, all windows can be enabled or disabled by the Windows menu.
The most important windows are:
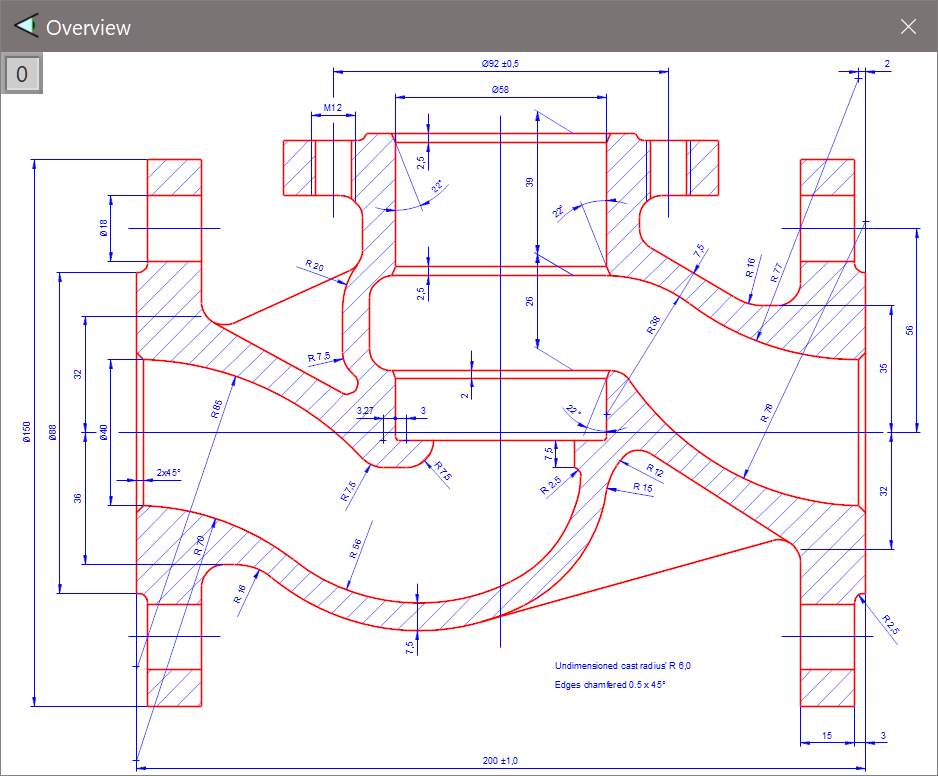
Overview WindowBasically, the overview window offers the same possibilities than a "normal" drawing window does. But in addition to that, the overview window can be scaled and placed anywhere on screen, and it can be configured to use a simplified display that leaves out or simplifies some object types.
PanelThe panel is usually located on the left of the CAD6 main window. It consists of many buttons used for operating various functions. In addition the buttons show the status of the corresponding functions.
In general the setting can be changed by clicking on the button with the left mouse button. Clicking on the buttons with the right mouse button calls a context menu where you can e.g. alter the parameters which apply to the function or changes the display parameters for the panel.
The second large button of the panel shows the symbol of the currently active command. If the command has parameters, this is indicated by an orange spanner, and the corresponding dialog can be opened by clicking on the symbol or by pressing the "N" key.
Status WindowThe status window can be placed anywhere on the screen. It has two functions: Firstly it displays coordinates, the current command, and details of the expected entry. Secondly it is used for the direct entry of coordinates. The way in which the status window functions depends on the position of the mouse pointer or crosshair and the stage of command input.
Clicking the mouse button in the status window or pressing the key "F8" calls the coordinate entry directly (see chapter Draw Objects).
Command BarThe command bar contains several groups of buttons, each of which containing a useful set of related commands and settings. Those button group can be switched on and off individually. Furthermore, additional buttons and separators can be added. Click with the right mouse button into the window to display the context menu in which to determine (among other settings) the button groups that shall be displayed in the command bar. Some buttons groups are used to alter properties. During standard operation, these buttons will directly affect the current properties for working without a pen. When drawing without the use of pens, the command bar offers the fastest way to select the desired properties.
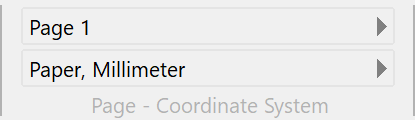
Page and Coordinate System
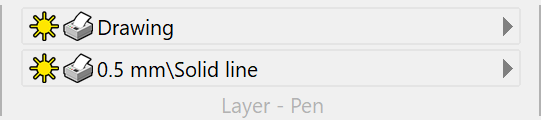
Layer and Pen
Some buttons groups are used to alter properties. During standard operation, these buttons will directly affect the current properties for working without a pen. When drawing without the use of pens, the command bar offers the fastest way to select the desired properties.
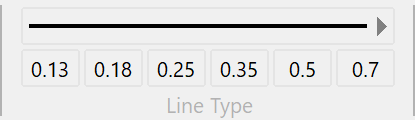
Line Type and Widths
These buttons are used to select the line type and the line width. They do always display the line width in millimeters (independent of the current unit setting)! Clicking with the left mouse button selects the line width, clicking with the right mouse button displays a dialog window where the line width assigned to that button can be edited.
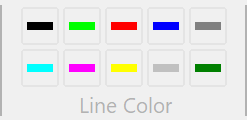
Line Color
These buttons are used to select the line color. Clicking with the left mouse button selects the line color, clicking with the right mouse button displays a dialog window where the line color assigned to that button can be edited.
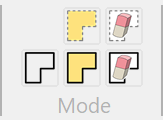
Filling Mode
These buttons are used to set the filling mode. The available filling modes are (in this order): "Outline", "Filling", "Filling & Outline", "Eraser", "Eraser & Outline".
Line Color
These buttons are used to select the fill color. Clicking with the left mouse button selects the fill color, clicking with the right mouse button displays a dialog window where the fill color assigned to that button can be edited.
During the execution of the command Modify Objects, the command bar works differently. Pressing property buttons in the command bar will now directly alter the properties of the currently selected objects! Since multiple objects with different properties might be selected, the property button of the command bar will not be displayed permanently pressed. This would lead to the incorrect assumption that the button state visualizes the objects properties, which is not the case.
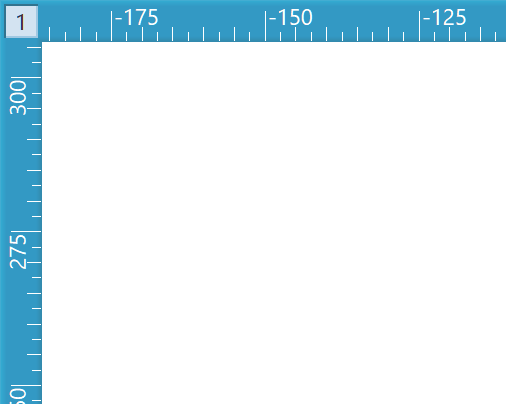
RulerUsually each drawing window has a ruler, which runs along the left and upper edge of the window. Above all, it serves the purpose of orientation when working with coordinates. You can read from the ruler the current position of the origin and the coordinates of the crosshair. When working with more than one drawing window, the ruler also shows which window is "active".
The ruler of the active window is displayed normally, but the ruler of an inactive window is shown in a wan color.A drawing window can be activated by clicking on its ruler with the left mouse button. Clicking with the right mouse button calls a list with coordinate systems, in which the coordinate system for that window can be set up.
In the upper left corner of the ruler, the number of the window is shown. This field shows which window is active. Clicking on this field with the left or right mouse button has the same effect as clicking on the ruler.
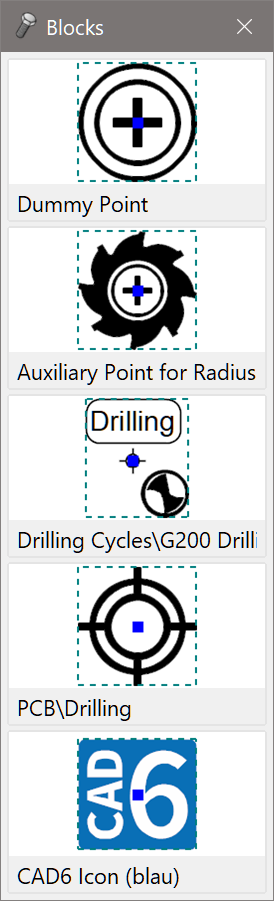
Block WindowThe block window contains 200 buttons which can be associated with blocks. This makes it easy to access frequently used blocks rapidly.Left-clicking on a button allows to place the associated block in the drawing. This operation can be repeated until the right mouse button is clicked. Right-clicking allows the button allocation to be changed. It calls the "Insert Block" dialog. The values specified here are saved separately for each button, so the same block may be saved several times with different parameters (for example rotation angle).
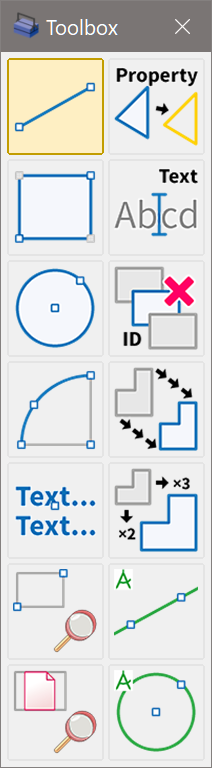
ToolboxThe toolbox window contains up to 1,000 buttons which can be associated with program commands. This enables frequently used commands to be accessed easily.Clicking briefly on one of the buttons with the left mouse button chooses the command associated with that button.
Clicking and holding down for ½ second or more the left mouse button on a tool window button calls a sub menu. This submenu contains all the commands from the same submenu where the button's command is located in. Another command can be chosen from this submenu; this command will be allocated to the button and immediately carried out.Clicking the right mouse button on a tool window button calls the Popup Menu where the allocation of the button can be changed (see below).
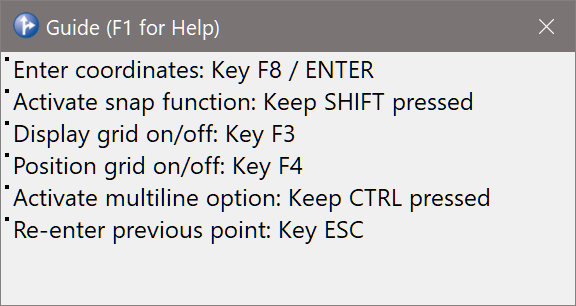
Guide WindowThe guide window displays some hints based on the currently active command and the expected point entry. They show you all available options, how you can alter settings that influence the current command (especially the key sequences), and what the application is expecting from you.
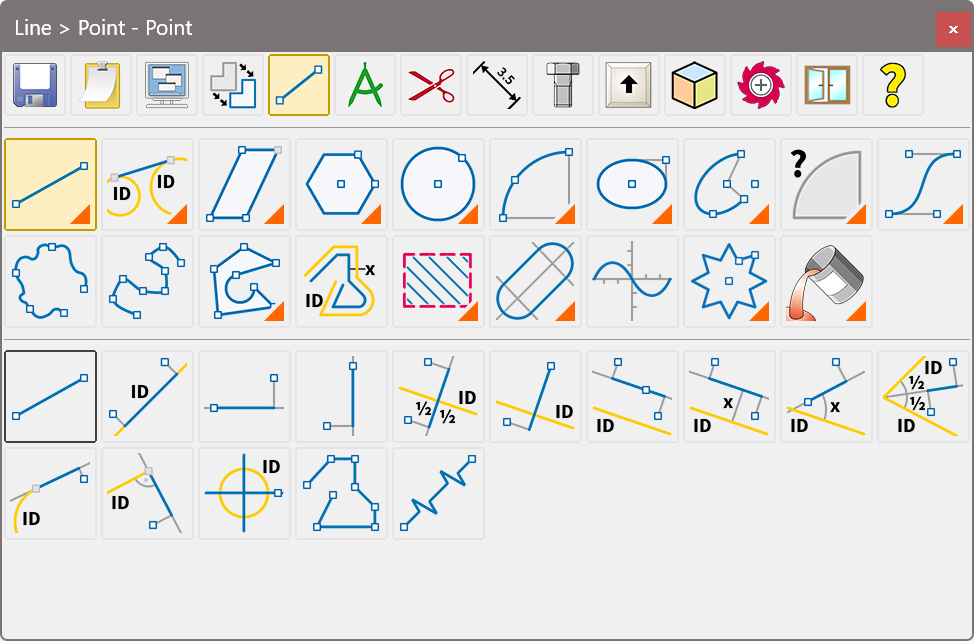
Popup MenuThe popup menu is a graphical menu which uses icons to represent commands. It always appears at the position of the mouse pointer and can be opened according to the settings of the dialog Edit > Options > Mouse / Keys. The popup menu is structured in the same way as the standard menu, it has the same menu entries.
Choosing a command has the same procedure as using the standard menu. The menu is chosen from the upper area; the menu entries and submenus appear in the central area. Choosing a menu entry execute that command, or in the case of a submenu entry, the commands of the submenu appear in the lower area.Submenu icons have small solid orange triangle in the lower right corner of submenu icons to help distinguish them. Submenu icons always show the "most important" command from that submenu. A command, menu or submenu is chosen by clicking on its icon with the left mouse button. The choice of command can be cancelled by pressing ESC or clicking the right mouse button on the Popup Menu.
The title bar of the Popup Menu shows the description of the command or menu covered by the mouse pointer. Help on this command can be called by pressing the Key "F1".
|
CAD6studio Release 2026.0 - Copyright 2026 Malz++Kassner® GmbH